Install, set up, and charge your Jet Stick
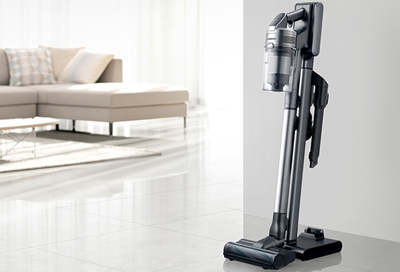
The Jet Stick is an advanced vacuum, which means setting it up will require a few more steps than an ordinary vacuum. The charging stand not only powers up the battery, it also provides a convenient storage spot for the vacuum and its attachments. We've also included some helpful information about the Bespoke Jet Cordless Stick model. Before you know it, you'll be reaching for your Jet Stick every time there's a spill.
Set up the charging stand
Before anything else, you’ll need to set up the vacuum’s charging stand. Think of it as the hub for your Jet Stick.
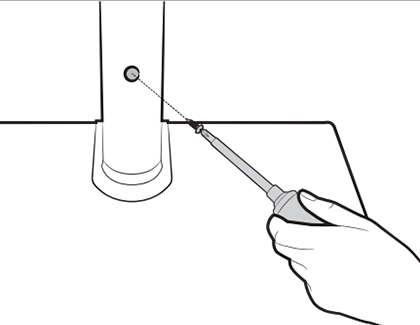
Attach the vacuum’s stand pipe to the bottom support. Push the stand pipe in firmly, and make sure the screw hole is aligned properly. Tightly secure the pipe to the bottom support with the included small screw.
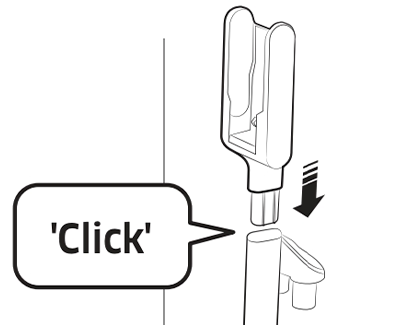
Attach the vacuum charging part to the top of the stand pipe. Do NOT disassemble it after you've put it together.
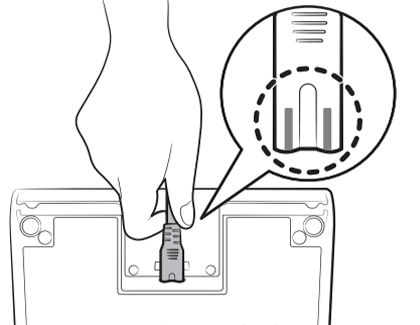
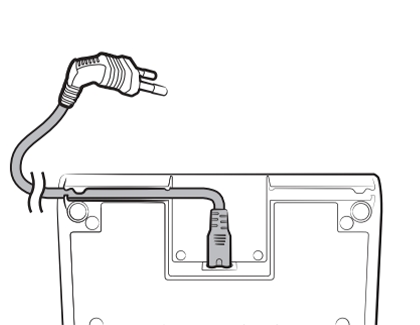
Connect the power cord to the rear of the charging stand. Hold the connection part of the cord and push it onto the connection pins firmly. Make sure the gray lines on the tip of the cord are not visible.
Insert the power cord into the groove on the bottom of the support. This will help hide the cord and also make it so the charging stand can be installed snugly against a wall.
If this is your first time using the Jet Stick, place the battery in the charging stand so it can charge.
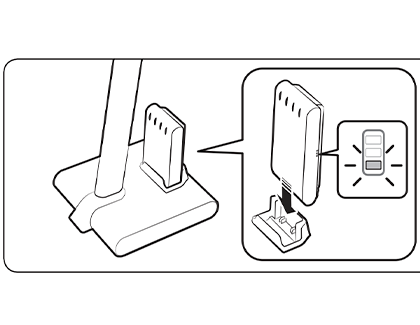
Once the battery is charged, you can swap it for the second battery that came with your Jet Stick. This way, you can use the first battery when cleaning your home while the second battery charges!
Assemble the vacuum
Once the battery is charged, you can assemble and start using the vacuum. There are multiple pieces, but they come together in just a few clicks.
Slide the battery into the slot on the back of the vacuum. The battery compartment is behind the dust bin, above the small silver pipe.
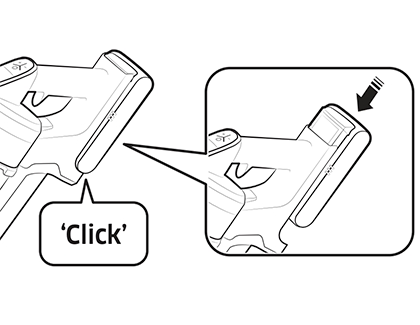
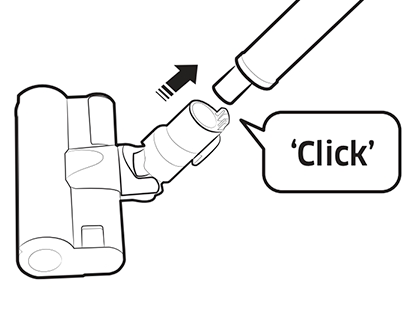
Insert the long silver pipe into the bottom of the small silver pipe that is attached to the dust bin.
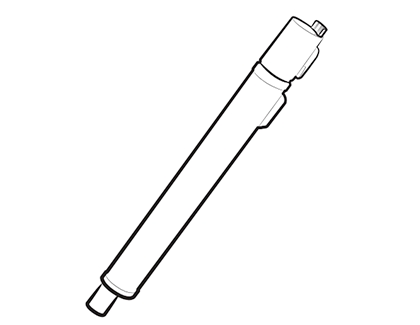
Attach the long silver pipe to your desired brush head, such as the Soft Action Brush or the Wet Brush.
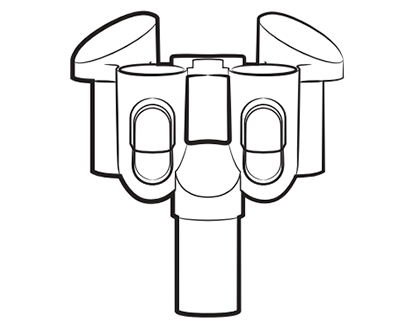
Attach the Brush holder to the front of the vacuum’s dust bin, and then attach the different accessories.
Charge the vacuum's battery
Note: When the battery is not being charged or used, it will discharge slowly.
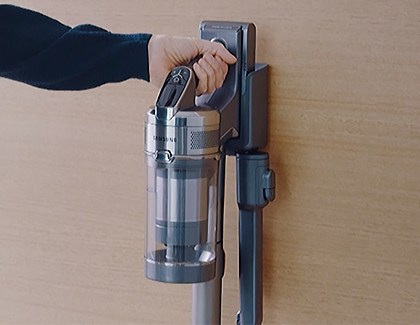
If you’ve already set up the charging stand or station, you can use it whenever the vacuum’s battery needs some juice. Simply place the vacuum on the stand or station, and make sure the stand or station is plugged into a power source.
The battery level indicator will blink while it's charging. When the battery is completely charged, the blinking will stop and the light level will dim. If you aren’t going to use the vacuum for a long period of time, we suggest unplugging the charging stand or station, and then detaching the battery.
Use the charging station for your BESPOKE model
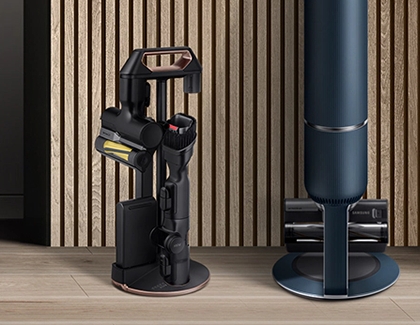
When your Bespoke Jet Cordless Stick Vacuum needs to be charged, you can place the battery on the Accessory Cradle. It will take about 3 and a half hours to fully charge on the cradle. Plus, your vacuum comes with two batteries, so you can easily swap them out for additional cleaning time.
Start by turning off the vacuum by pressing the Power button on the control panel.
Eject the battery by pressing the Battery release button at the bottom of the vacuum’s handle.
Then, insert the battery into the battery charging slot on the Accessory Cradle. Make sure to firmly push the battery into the slot.
Allow the battery to charge. You can check the charging status on the control panel.
Then, remove it from the slot when it’s finished, and reinsert it into the vacuum’s handle.
If you’re not sure if the battery needs to be charged, you can check the battery level indicator on the top of the vacuum’s handle. It will say “Low battery” and turn red when it needs to be charged. A medium battery level will appear orange or yellow, and a full battery will be green.
Check out our guide to learn more about using your Bespoke Jet Cordless Stick Vacuum. You can also refer to your user manual.
Other answers that might help
-
Mobile 8 AM - 12 AM EST 7 days a week
-
Home Electronics & Appliance 8 AM - 12 AM EST 7 days a week
-
IT/Computing 8 AM - 9 PM EST 7 days a week
-
Text Support 24 hours a day 7 Days a Week
Contact Samsung Support
