How to set up the Universal Remote through MBR
How many remote controls do you have for your Smart TV and connected external devices? Through the MBR feature, you only need one remote control to handle all of them. Enjoy the much more convenient experience that MBR offers.
What is MBR?
MBR stands for Multi Brand Remote control and it is also known as a Universal Remote or One Remote. This function will make you stop switching from remote to remote when using various devices connected to your TV. With a single Samsung remote, you can easily control all external devices such as your home theater, game console, and Blu-ray players.
Initial MBR setup for a new TV
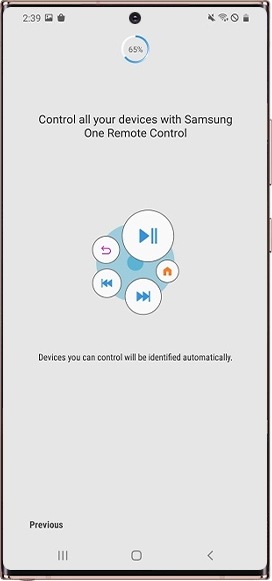
When you set up a brand new Samsung TV, there is a step for the MBR initial setting. Follow the instructions on the screen. To identify external devices, connect all of them to your TV and turn them on. Your TV will automatically detect and register the external devices.

MBR setup for a new external device
If the Smart TV doesn't automatically detect the external devices, you can set up MBR directly on the TV. Follow the steps below to set up MBR manually.
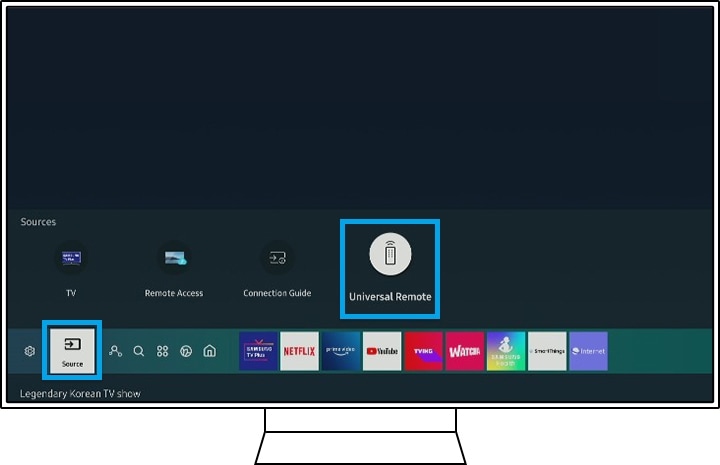
Step 1. Press the Home button and then select Universal Remote on the Source menu.

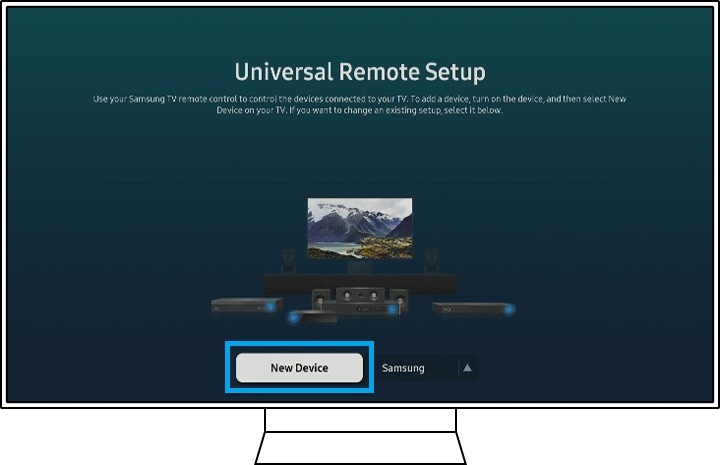
Step 2. Select New Device.

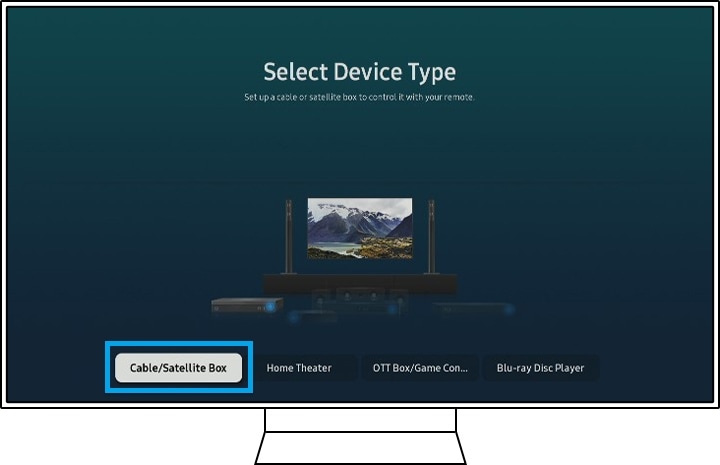
Step 3. Choose the Device Type on the TV screen.

Step 4. Follow the instructions on the screen to finish setting it up.
Note:
- MBR feature is only supported by Bluetooth remote. However, from the 2019 model, the MBR function is supported even if it is not a Bluetooth remote.
- Certain external devices connected to the TV may not support the MBR feature.
- Make sure that there are no obstacles in front of the external device or your TV's logo. This can cause signal issues.
- The device screenshots and menu are only a sample in English - they are also available in the language of your country.
Thank you for your feedback!
Please answer all questions.
RC01_Static Content : This text is only displayed on the editor page
