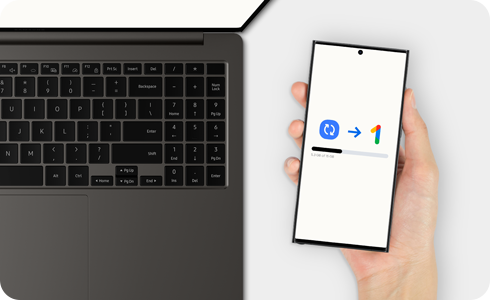
How to use Google One to back up your Galaxy phone’s data
Backing up the data on your Galaxy phone can help preserve photos and videos of special life events as well as other important files like messages and call logs, which can be extremely useful if you need to perform a factory reset or if you choose to upgrade to a new Galaxy phone. Automatically backing up your data with Google One will help guard against losing what is important to you and can be set up in a few steps.

Set up automatic data backup through Google One
If your data is not currently backed up on a regular basis, you risk losing important information if you must do a factory reset or if you get a new Galaxy phone and want to move all your data over. One popular way to automatically backup data is through Google One, and there are a few steps you need to take in order to set it to do so automatically.
Notes:
- The data that is backed up includes: photos, videos, apps, app data, contacts, call history, MMS messages and device settings.
- Once set, your Galaxy phone will automatically back up when it is connected to Wi-Fi after being idle and charging for two hours.
- Be aware that your backed up data (excluding items backed up to Google Photos) will be deleted if your Galaxy phone has been idle for 57 days or you turn the back up feature off.
Restore data from Google One to your Galaxy phone
If you have performed a factory reset or if you are setting up a new phone, you can restore backed up data during the initial setup phase of your Galaxy phone by using Google One.
Note: Data restoration may vary based on your Galaxy phone and Android version. Files backed up on a newer version of the phone cannot be restored on an earlier version.
Note: For further assistance or questions, please Contact us.
Thank you for your feedback!
Please answer all questions.


